
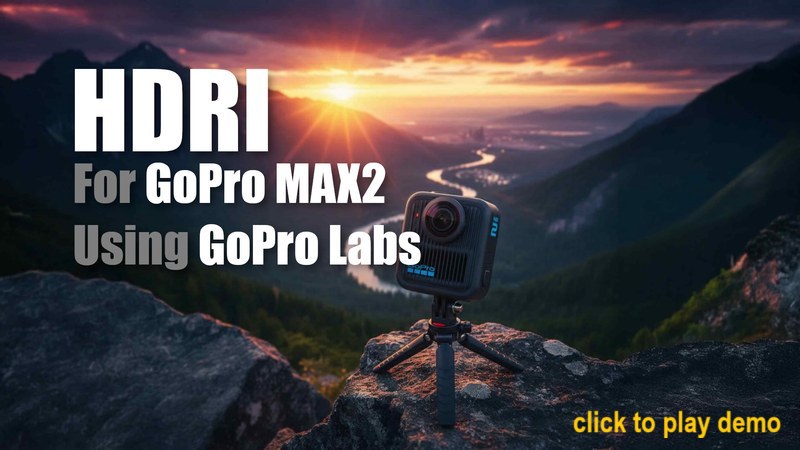
HDRI Merge (optimized for GoPro MAX2)
Why: 360° HDRIs capture the full lighting environment in every direction, making them ideal for realistic image-based lighting in 3D rendering, VFX, and virtual production. By mapping an HDRI onto a sphere or dome, artists can recreate the natural reflections, colors, and brightness of real locations, perfect for matching CGI elements to live-action footage or achieving photorealistic lighting in visualizations and games.
Configure Your MAX2 to Create HDRIs Easily
First QR Code is a GoPro Labs macro that will taking up to 11 exposures, 2.0 stops apart for very wide HDRIs.
Optionally optimize for moonlit nights (very low light),
this will add even longer exposures, which are otherwise useless for lit-interiors or daylight (recommended off.)
The script will optionally name the files Hab_GS01xzwy.JPG
(Enable Name Change),
to help you find the exposure groups on the SD card,
however the renamed files will not show in camera playback or in Quik. The HDRI script is
designed for laptop/desktop workflows.
Start Delay seconds
GoProQR:
HDRI Macro v1.1
Second QR Code makes a preset called “HDRI” from the above macro.
GoProQR:
HDRI Preset
On camera Setup
Go to the Menu -> Preferences -> General, scroll down to 360 Photo Format, and select .JPG (rather than .36P).
Using HDRI Preset
After scanning the above two QR Codes, to run HDRI mode, select the new HDRI preset from the photo menu.
The camera will say “Labs processing”, as it waiting for a shutter press to run the nine exposures.
Shutter press via any compatible BLE remote, or the physical button (it will not work via Quik.) The camera should be stationary,
as the nine exposures will take about 33 seconds.
WARNING: While the HDRI preset is selected, the camera will remain on, no auto shutdown.
You can manual power off, or go to any other preset for returned normal camera functionality.
Merge your Bracketed Exposures
Press “Choose Files” below to select your files to compute a single HDRI.
Then press Merge HDR (8K) for the ½ or ¼ Res merge for a faster preview.
Once complete, click on Download .HDR.
Looking for a free web tool to view and test your .HDR file, try HDRview